Thursday, October 20, 2016

Little Pumpkin Baby Shower

We spent last weekend creating, cooking and crafting. Since the two of us live a couple hours apart, time together is such a blessing and a joy. We are so excited to share all of the recipes, ideas and pretty little details! This baby shower post is a long one but it is filled with recipes and decor that you could use for a bridal shower, fall themed bash or around your home this autumn season!

Little Pumpkin Shower

Food
Baked Apples:
This was one of the best apple recipes that we have ever tried! Not only is it delicious but also requires very little prep time and ingredients that you will likely have already in your kitchen. To see the full recipe, check out our previous Baked Dessert Apples post

Pumpkin Spice S'more Bites:
Ingredients:
- One package of marshmallows
- One package of graham crackers, crushed
- One package of candy melts or chocolate chips
Note: We used Pumpkin Spice candy melting chips from Michaels.

Directions:
1. Follow the directions on the package for melting the candy chips or chocolate chips.
2. Place a stick or toothpick into the marshmallow. Then dip into the candy melts/chocolate. Our candy melts were a little dry so we had to spoon onto the bottom of the marshmallows.
3. Cover with graham crackers.Allow time to dry before displaying.


Games
Guess the Number of Little Pumpkins:
This game is simple and some guests will love that it requires no toilet paper wrapping or smelling baby food jars (though we love those games too!). Fill a jar or two with pumpkin candies and have guests make a guess at the quantity throughout the shower. The person who guesses the closest gets to bring the jar home!

Guess the Size of the Little Pumpkin: 
Another baby shower game idea is to guess the size of the mommy-to-be's belly.  Guests estimate the measurement, cut the string and then the mommy-to-be sees who is the most accurate. For a pumpkin spin, have a large pumpkin and guests can guess those measurements as well. Or if you have a confident mommy-to-be, you could even see who is bigger!
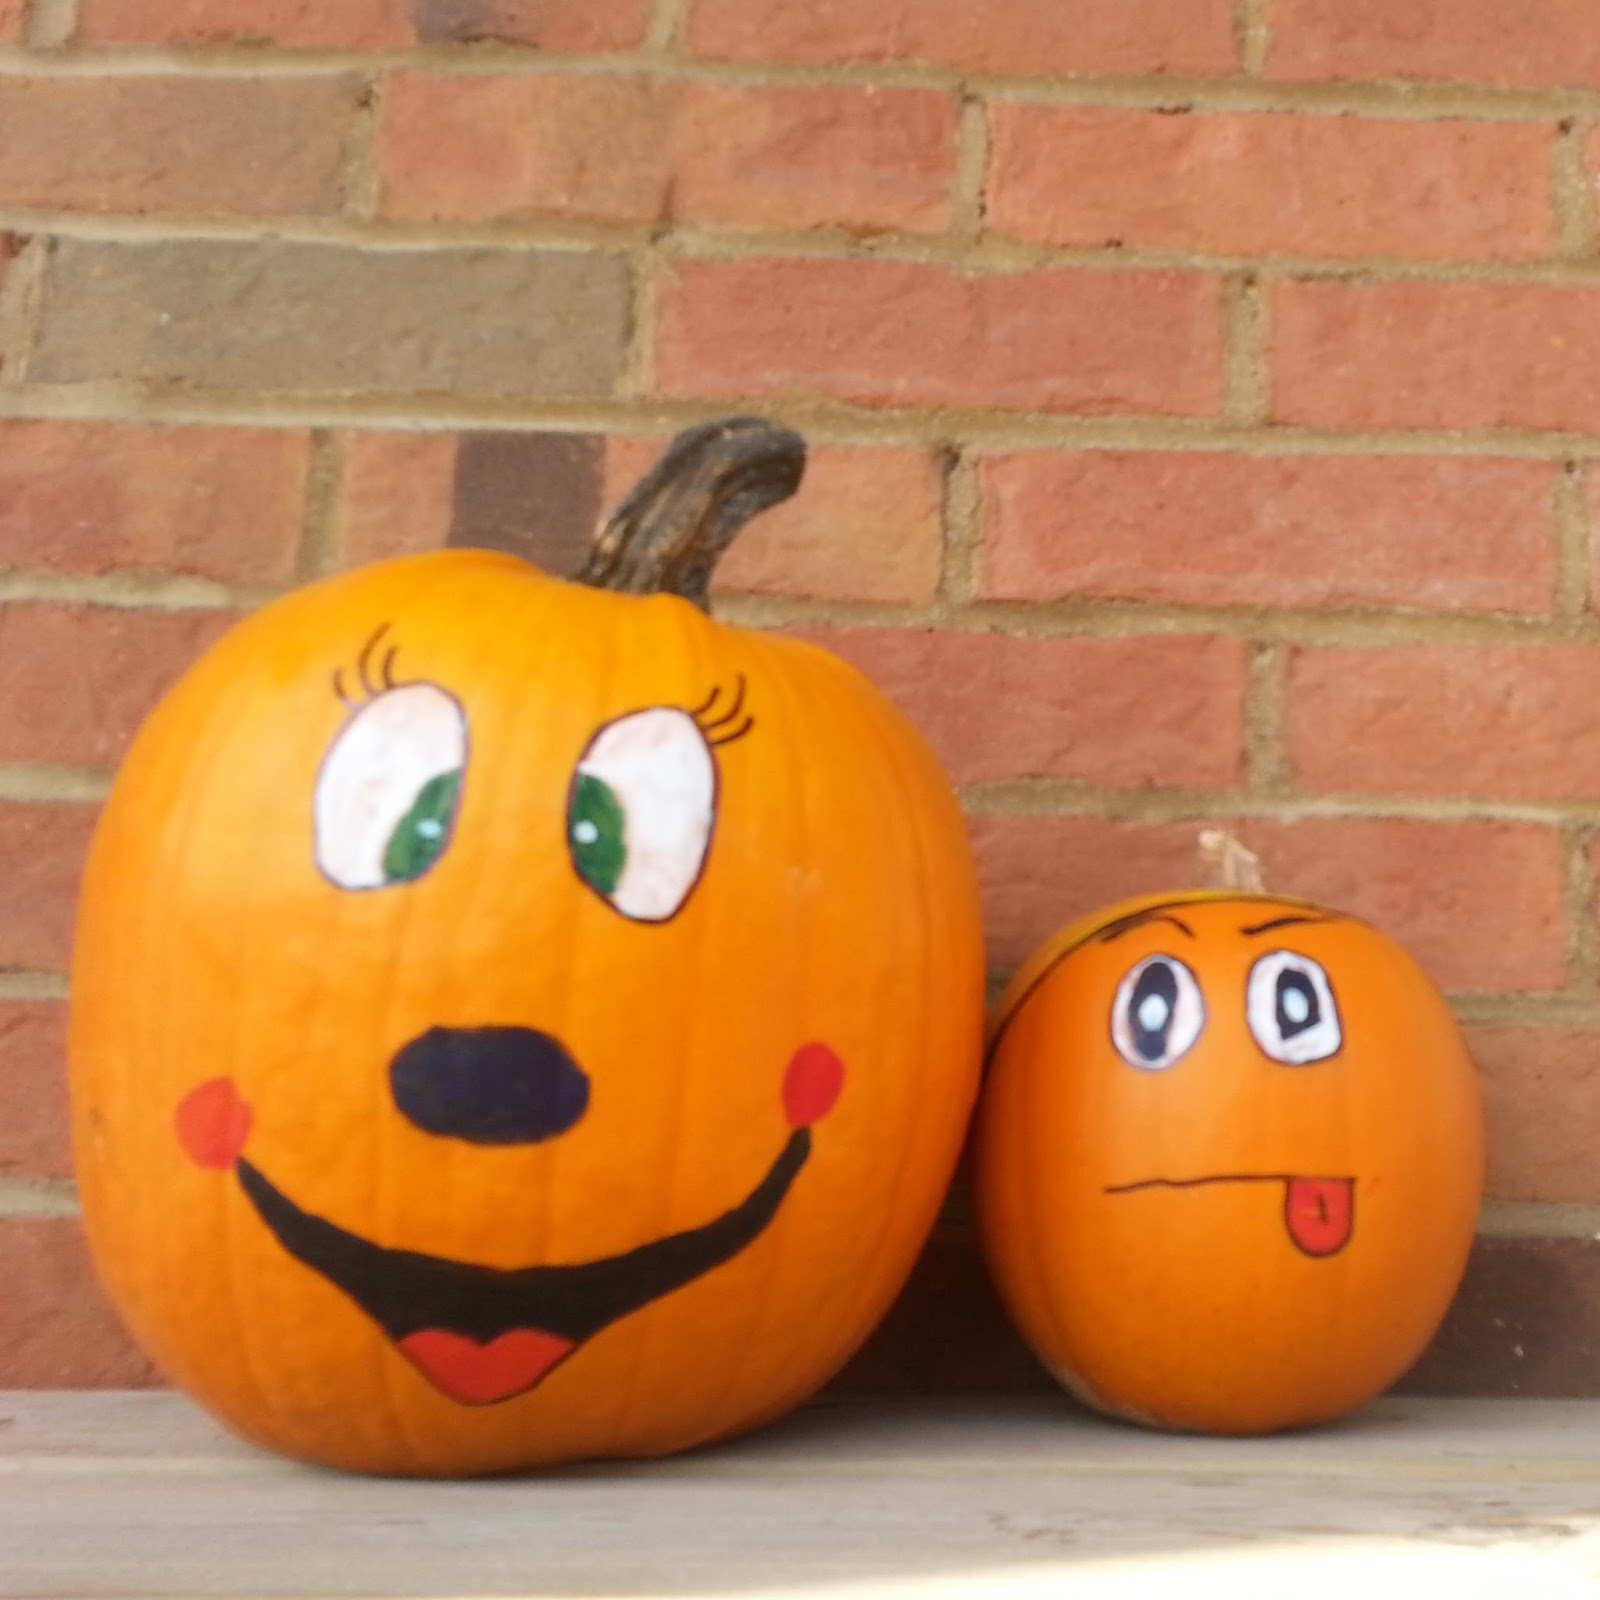
Pumpkin Decorating:  
A fun activity can be to decorate small pumpkins, especially if your shower will be having a lot of younger guests. This could even turn into a guest favor!


Decor
Little Pumpkins:
We used a LOT of pumpkins for this shower decor. We purchased pumpkins from the Farmer's Market, Target, Michaels and Beyerlys. We scattered them on side tables and on the main table (full tablescape post coming soon!). They created some colorful pops of orange and white throughout the decor and food.

We found a printable on Pinterest and with some wooden boxes from Target, we had some darling shower decor!


Favors:
If I haven't said this already, Belvoir is my FAV! I was excited to share these with Marie so that she could try it. Since they make a mini bottles of Ginger Beer with orange labels, I knew this had to be our party favor.

You could also tie a paper straw and a tag onto it for an escort card or table setting. They are a little pricey but make for a perfect take home gift for shower attendees!


Thursday, October 13, 2016

Pumpkin Floral Centerpiece


This gorgeous centerpiece was a breeze and it perfectly completed our fall tablescape!!

Unfortunately, we got so carried away with creating that we didn't remember to take any preparation pictures. But it is incredibly simple! This piece would look amazing at a fall party, bridal shower or on your Thanksgiving table.


Supplies:
- Two bouquets of flowers
Note: You could use less floral if your pumpkin is smaller
- Large Pumpkin
- Knife for pumpkin carving
- Medium vase

Directions:
1. Start by carving the top of the pumpkin. We didn't scoop out too much since our pumpkin was already a couple of weeks old.
2. Place a vase with water inside the pumpkin. This will hold your flowers and help to keep the water from seeping out.
3. Arrange your flowers as desired and then display! We added lots of small pumpkins, gourds, pinecones and acorns on the sides to create a beautiful fall tables cape.


Below are the sources for our table set up:
Flowers: Downtown Minneapolis Farmer's Market
Large Pumpkin: Sam's Club
Small Pumpkins: Target
Gourds: Downtown Minneapolis Farmer's Market
Pinecones: Michaels
Tea Lights: Home Goods
Acorns: Target

Monday, July 25, 2016

KEEP collective jewelry


I love basic everyday jewelry!  For me a bracelet that can go with everything because it can be dressed up or down, is a worthwhile investment.  Always a fan for items of sentimentality KEEP collective has found a special place on my wrist.

How did I discover these great pieces?  It's all thanks to my best friend Melanie who became a KEEP consultant and introduced me and has gotten me addicted.  But instead of me raving about it, figured she could more accurately share just what makes KEEP so special.

First here is a peek into one of my latest obsessions!


 Little note about what these mean to me and why I love wearing them!!!

 - Mrs : for my hubby and me,

 - Stacked Hearts: for my most valued relationships (hubby and I, best friend Melanie and I, my parents, my brother and I, etc..)

 - Mrs W : I'm a teacher

 - U.S. Map : US History teacher, Geography teacher, goal to travel to all 50 states

 - Blessed : constant reminder of how blessed I am in all facets of my life, God looking out for me

 - Arrow : goals to attain, journeying ahead


Hi everyone! My name is Melanie, and as Marie said above I am a KEEP consultant.  Today I want to share with you more about why Marie and I both love KEEP, and why we think you'll love this arm candy too! 

The idea behind KEEP is that YOU get to create YOUR jewelry.  KEEP what matters to you close at hand. Share who or what you love. What's YOUR story?

The reason I joined KEEP is because I love their mission to spread happy.  I was first drawn in because of the amazing jewelry (I had a wish list that was a mile long!).  I wanted to earn some free product and commission to help fund my new-found obsession.  As I began to design pieces, I heard stories from women about the things that were most precious to them.  It is so inspiring and such a privilege to have conversations about aspirations, loss, and family. It's a dream that I get paid to help people tell the stories of their one-of-a-kind
lives!  There is so much cruelty and tragedy in the world, and I want to be part of something that helps people keep their joy and happiness close at hand.  KEEP helps remind us of what's most important in life and that each of us is truly blessed.


Just like Marie, I have a few favorite KEEP keys I wanted to share.

- Palm leaf : represents growth and honor. I wear it to remind me that life is a process and to find lessons in each day.

 - Hearts bar : I wear this to represent my two daughters.

 - Knot : represents my marriage and "tying the knot."  It helps me remember that when things get tough, our bond only gets tighter.

 - Arrow : I wear this one just about every single day! for me, it represents moving forward and the quote, "When life seems to be pulling you back, it means you will soon be launched into something great."

 - Color bar : I wear the blue bar for the thin blue line in support of my husband as a policy officer.

 - Key : when I wear the key, it helps me to think about the "keys to my heart and happiness" and to keep those things at the forefront of everything I do.


Steps to creating your KEEP story.

Step 1 - Check out my online catalog here: www.keepcollective.com/with/melaniegriffith

Step 2 - Choose your keeper! Bracelet or necklace? Metal or leather? Single or double? Silver, gold, or rose gold?

Step 3 - Choose your keys! Keys are charms that tell your story. They slide on and off your keeper and fit snugly so they stay in place while you move.

Step 4 - Place your order or ask me to make a mock-up of your design so you can see it before purchasing. Your beautiful package will arrive at your doorstep in 4-7 days!


If you are new to KEEP and want to learn more, this is a great video to watch:  www.youtube.com/watch?v=7-Xcy0afOrE 

Join the fun and design your own KEEP bracelet today.  It's time to share your story.


Thursday, July 21, 2016

Candied Conversation Hearts Craft

Another year has passed and Dave and I find ourselves celebrating our 4th wedding anniversary. WOW!

I seized the opportunity to make a lovey dovey craft to commemorate one more year together.  We never do anything BIG for our anniversary. Usually we choose to just spend the day together and treating each other as our gifts.  It works for us, and we love it! We've spent an anniversary at the zoo, our favorite roller coaster amusement park (my blog post on Cedar Point), and a day shopping for new clothes.  This year we spent a few hours at the gym to counterbalance our dinner plans, a movie, then plan on ordering wings, and devouring some ice cream.

But since we don't exchange gifts I've been doing a little craft to represent another year passed.  My choice to do a candied conversation hearts craft came from a fellow grad student offering us a whole bag of the candy! Immediately knew I should finally set aside time to make this craft since I've only been wanting to for the past several Valentines! So time like the present.


Candied Conversation Hearts Craft


Time: 2 hours

Supplies : candied hearts, Elmers glue, paper and frame or a canvas and paint.

Since I'm a perfectionist I laid out all the hearts in the shape of the large heart. Then after that was assembled I went through and glued each one of them.  For now I have the piece stationed on a clipboard. Another option I'm considering is a shadow box and filling the bottom of the box with the leftover candied hearts!

#ThrowbackThursday :
Last year for my wedding anniversary craft, I made a DIY First Dance Frame , a perfect way to capture those first dance moments as husband and wife. Take a peek at my craft of our first dance together to "Forever". And back to our first anniversary DIY when I created Special Occasion Card Collections. Already thinking what's on my list to make for next year!

Wednesday, July 6, 2016

Fire & Ice Gift Box

Themed gift boxes are my thing!

Shopping and making these make me a happy girl.  So I try and find any excuse to think up a theme and run with it.  Good for birthday parties, baby showers, and church auction donations.  Even thought up some for work promotions, get well baskets etc so stay tuned.

These snack boxes are perfect for those salty or sweet snack lovers.

Can be especially easy gifts for those people who are hard to buy for or if you want to show you're thinking of them for a mere $20-$30. Plus this is one of those boxes that you know will be appreciated!

Who doesn't LOVE a box full of treats?!

This FIRE & ICE box is full of fiery freshness!
For someone who likes spicy this snack box will have their mouth singing.
And then help them cool it down with some minty freshness.


FIRE & ICE Box


Fiery Item options:


Cheetos
   * Flamin' hot,   cheddar jalapeno,    flamin' hot limon,    xxtra flamin' hot
Fritos flamin' hot
Doritos
   * flamas,    spicy sweet chili,    spicy nacho,    spicy street taco,    ranch dipped hot wings
Doritos Dinamita
   * chile limon,    fiery habanero,    nacho picoso
Funyuns
   *  flamin' hot,    chile limon
Lays
   * flamin' hot,    chile limon
Lays Stax
   * buffalo wing,    chile limon,    flamas,    xtra flamin' hot
Hot Sauce / Tabasco
Cinnamon Bears
Cinnamon Hard Candy
Red Hots
Hot Tamales

Icy / Fresh Item options:


Orbit gum
Lifesavers Mints
Mentos
Andes Mints
Tic Tacs
Junior Mints
Altoids
York Peppermint
Gatorade Frost


See previous post on:  
 
Building a Baby Basket


Coming soon:

Sending some Sunshine

"You're on Fire" Box
     - work promotion
     - report card
     - graduation

Sweet & Sour Box
     - someone sweet in a sour situation

Tuesday, July 5, 2016

Patriotic Pallet Project

Pallet projects are all the rage.

If you find yourself in possession of a pallet you should definitely seize the chance to make it into an American flag.  Even though we just celebrated the 4th of July it still makes a great garden or porch piece to display all summer long. Would put one in my classroom if I thought it would fit!

Couple choices when it comes to making the US flag.  You could go with the traditional American flag look by replicating the straight red and white stripes and it'll look great! Mainly these boards have identical well spaced stars.  You'll see this style all over pinterest.

But to go with a more modern look, switch it up.  Try a chevron pattern and variable sized stars like this completed project.  Both are cool ways to display your American pride.

American Flag Pallet


Time: ~ 1 hour
(not including drying time)

Materials:
-wood pallet
-paint brushes
-acrylic craft paint
-painters tape
-stencil for stars OR star sponge stamps

Directions:
1. Start with white to prime the stripes. While that is drying paint the blue portion.
2. When its completely dry, apply painters tape to create a chevron pattern.
3. Paint the taped chevron sections red.
4. Create white stars in the upper left blue corner.  You can freehand them, use stencils, or sponge stamps to create the needed state stars.


All done! Just have to find the perfect spot for it! Happy pallet painting! 

Other "American" posts on the blog:
American flag beer bottles
Patriotic dipped strawberries
Red, White and Blue recipes

Thursday, June 30, 2016

Caprese Quinoa

Feels incredible to be back to blogging! Apologize for the long hiatus, we've both been busy ladies, life and all that.  But having wrapped up another school year, and moved back to Ohio for the year, I'm just itching to accomplish some craft projects. Finally some time to tackle those pinterest projects I have queued up, and some original ideas I have floating around.

Also, not living by myself anymore means I can dive back into cooking! I'm so not one of those people who enjoy making something just for myself.  The goal is to make 3 new recipes a week.  One was this caprese quinoa.

I've only tasted quinoa one other time, and never made it myself, but thought I'd experiment with this newer food that's causing quite a stir.  Thumbed through my pioneer woman cookbook, and discovered her Quinoa with Tomato, Basil and Mozzarella. And making it was as easy as she made it seem on TV.  Give it two thumbs up for a quick, healthy summer salad!

If you like caprese this salad is for you, even the hubby likes it! In fact, he's eaten more of the leftovers than I have. A clear winner for those of us trying to make healthier choices for meals.  And a valid excuse to enjoy some good ice cream later.


Caprese Quinoa


Total: under 30 minutes

Ingredients:

2 cups red quinoa
4 cups water
1/2 tsp salt
1 cup red cherry tomatoes
1 cup yellow cherry tomatoes
8 oz fresh mozzarella, cubed
24 basil leaves (basil packet)

Dressing:
1/2 cup olive oil
2 tbsp balsamic vinegar
1/2 tsp black pepper
1/2 tsp salt

Directions:
1. Boil 4 cups of water, salt the water, then add 2 cups of quinoa. Reduce to low heat, cover and simmer for 15 minutes or until water is all absorbed. (Cook quinoa like you would rice). To cool the quinoa spread it onto a baking sheet, then add to salad once it becomes room temp.

2. While quinoa is cooking make the dressing. Add the 4 ingredients and mix. Set aside.

3. Next add all the tomatoes to a big bowl. Depending on the size and your preference you can choose to cut them in half. Then chiffonade the basil, add to bowl.  We bought small mozzarella balls and halved or quartered them, but depends on what mozzarella you purchase. Add mozzarella to bowl. Quinoa should be room temp and can be added to bowl.  Add the dressing and toss.

4. Best to sit in fridge for 2-3 hours. Either way its tasty and keeps up to 2-3 days in fridge!


Other great salads to whet your salad appetite on the blog:
Strawberry Chicken Salad
Italian Tortelini Pasta SaladChicken Taco Salad
Watermelon Arugula Salad 
Broccoli Salad 
Pioneer Pasta Salad
Buffalo Chicken Salad
Avocado Corn Salad